Design work just got a lot faster. Here’s the complete setup guide, step by step.
·
⏱ 6 min read
·
🎨 Works with free Canva accounts
What if you could describe a design and have it appear in Canva — without touching a single template yourself?
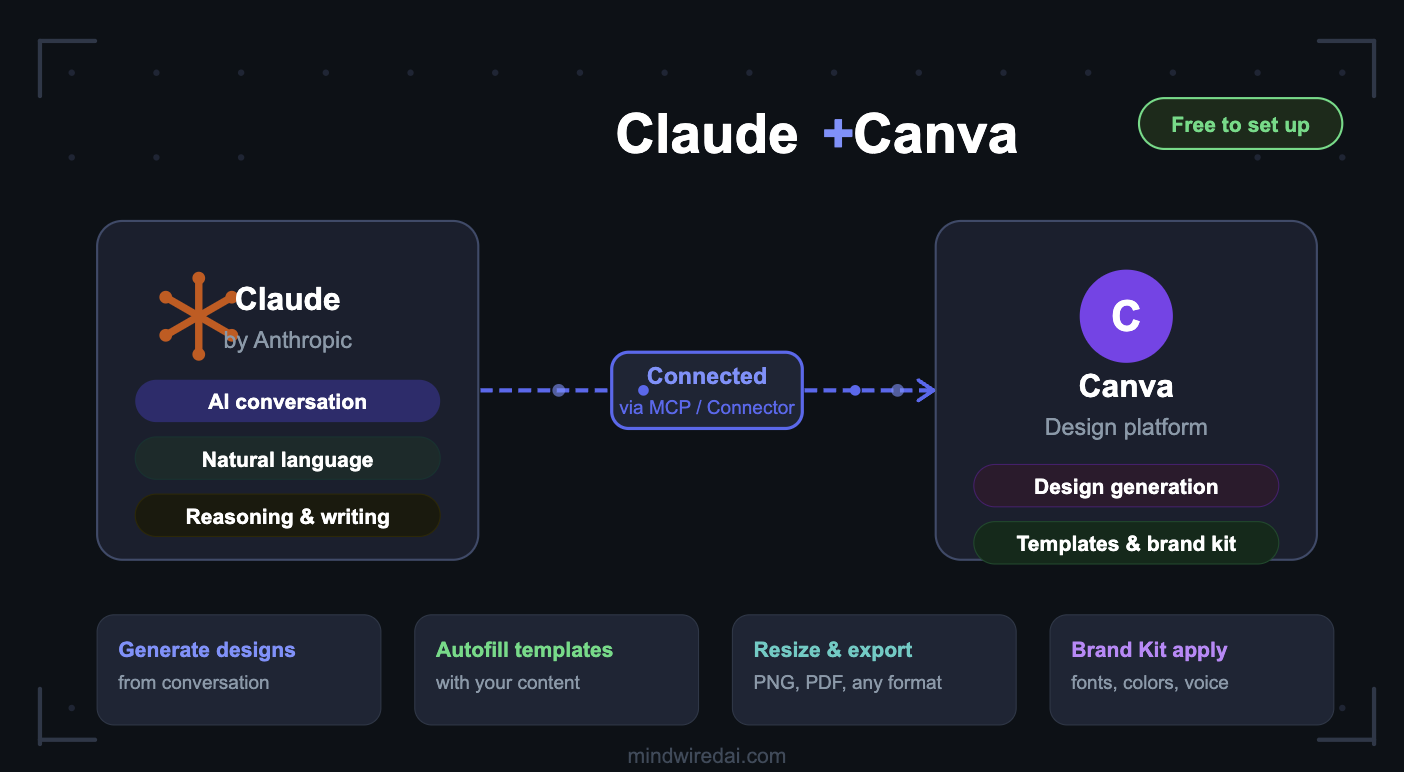
That’s not a future feature. It’s available right now through Claude’s Canva integration. You can connect the two tools in under five minutes, and once you do, Claude can generate designs, fill templates with your content, search your existing files, resize and export — all through conversation.
There are two ways to set it up. This guide covers both — from the simplest click-to-connect method to the more powerful MCP server route for developers. Pick whichever fits you.
🎨 What you can do once connected
Design Generation
Describe a design — carousel, banner, social post — and Claude creates it from scratch
Template Auto-Fill
Drop your brand templates — Claude fills in text and content instantly
Design Search & Organize
Find any Canva file by topic or keyword — no more digging through folders
Resize & Export
Convert any design to PNG or PDF and export directly from the chat
Brand Kit Application
Your fonts, colors, and brand voice — applied automatically (Canva Pro+)
Choose your setup method
🖱️
Method 1: Connector
Click-to-connect inside Claude.ai. No technical setup needed.
Best for: everyone
⚙️
Method 2: MCP Server
Run a local server for deeper integration with dev tools.
Best for: developers
Easiest · No installs · Works directly in Claude.ai
This is the fastest way to get started. It lives entirely inside Claude’s settings — no terminal, no config files, just a few clicks and you’re connected.
Open Claude Settings
Click your profile icon at the top right of Claude.ai → Settings
Go to Connectors
In the left sidebar, click Connectors
Find Canva and Connect
Scroll to find Canva in the list and click it
Authorize Your Canva Account
A popup will appear asking you to log in to Canva and grant permission
Enable Canva in Chat
Once connected, start a new chat. Click the connector icon at the bottom and activate Canva for that session
You’re connected. Try this:
“Create an Instagram carousel with 5 slides about productivity tips. Use a clean, minimal style.”
💡 How to turn it off when not needed
Temporarily (per session): Click the connector icon in chat → deactivate Canva
Fully disconnect: Settings → Connectors → Canva → “View more” → Disconnect
For developers · Deeper integration · Works with Cursor, Claude Code, VS Code
MCP (Model Context Protocol) lets you run a local Canva server that AI coding tools can talk to directly. This is the method to use if you’re working in Cursor, Claude Desktop, Claude Code, or VS Code and want Canva integrated into your actual development workflow.
# Before you start — you’ll need:
✓ git
✓ Node.js v20 or higher
✓ npm
✓ A supported MCP client (Cursor, Claude Desktop, Claude Code, or VS Code)
Pick your client and follow the steps:
✅ After setting up the MCP server — 3 steps to verify:
1
Save and restart your MCP client completely
2
Check for the server icon — in Claude Desktop, look for the hammer icon in the toolbar. Click “Search and tools” to confirm Canva tools appear
3
Test with a simple question: “What Canva App UI Kits are available right now?”
💡 Pro tip — Get better results from the AI
The MCP tools can be called directly by the LLM — which means you can get much more specific. Instead of vague prompts, try including exact keywords from the Canva docs:
✓ “Search for App UI Kit templates with dark mode”
✓ “Find designs using Apps SDK for Canva”
✓ “Show me brand kit options that include a logo upload”
The more specific the Canva terminology you use, the better the tool calls perform.
🔒 Security & Privacy
The MCP server runs entirely on your local machine. Your Canva credentials are pulled from the local CLI and are never transmitted anywhere outside your device. No third-party server sees your login.
The connected AI agents can only access Canva through the defined tool calls — they have no broader access to your account or files beyond what the tools expose.
❓ Tools aren’t showing up
Double-check your Step 1 config for syntax errors and make sure you fully restarted the client (not just reloaded)
❓ Claude isn’t responding with Canva data
Start a new session and include exact Canva keywords in your prompt. Claude may need more specific context to trigger the right tool calls
❓ Connector vs MCP — which should I use?
If you just want to use Canva from Claude.ai chat, go with the Connector. If you’re a developer who wants Canva tools available inside Cursor, VS Code, or Claude Code, use the MCP server
⚡ Quick Reference
| Method | Best for | Difficulty | Setup time |
|---|---|---|---|
| Connector | Everyone · Claude.ai users | Easy | 2 minutes |
| MCP — Claude Code | Developers · terminal users | Easy | 1 command |
| MCP — Claude Desktop | Desktop app users | Medium | 5 minutes |
| MCP — Cursor | Cursor IDE users | Medium | 5 minutes |
| MCP — VS Code | VS Code users · Agent mode | Medium | 5 minutes |
🎨
If you’re a regular Claude user: go with the Connector. If you live in a code editor: set up the MCP. Either way, you’ll have AI-powered Canva access in under 10 minutes.
Bookmark this page — config snippets are easy to lose track of 🔖
Share this guide
Know a Canva user who also uses Claude? 🎨
This integration is underrated. Most people don’t know it exists.
Every share reaches a Canva user who’s still doing everything manually 🙏